

When I was a child, I used to love playing in a field by my home in the Finger Lakes region of NY State. Late June, is the blooming season of the common milkweed plant scientifically known as (Asclepias syriaca), and it was so much fun to break off milkweed stems and watch the sticky latex milk drip out. I would put the sticky milk on my bug bites, and it made them almost magically feel better. If you would like to know more about effective natural ingredients for bug repellents, check out our latest post below:


Later I learned that it was likely a placebo effect, as there is no evidence it actually eases the itch of a bug bite. If you are bothered by mosquitoes and other biting insects you may want to try our handmade bug bite soother and natural bug bite repellents instead of my childhood experimentation with milk from the milkweed plant! Our founder Sandy guarantees a much better result!
In 2017, I picked a gallon jar of fragrant milkweed flowers and covered them with perfumers’ alcohol made from grapes. After a month I was pleased to discover that I had easily captured a noticeable amount of the beautiful milkweed flower essence. This became the base of what I believe to be one of the first artisan-crafted milkweed perfumes.
A few other secret ingredients were added which of course, I cannot mention by name…but let me just say that they enhanced the milkweed tincture. I felt very proud of my first attempt at making the scented perfume (see below).
Both Adirondack Artisan Milkweed Blossom perfume and Adirondack Milkweed Flower Scented Candles are handmade by gathering the fresh blooms of milkweed flowers from the fields of our farm.
These gifts of the great north woods are then artfully blended, aged, and beautifully packaged for all to enjoy! I hope that the next time you drive by and catch a whiff of these amazing weeds, you will know that their wisdom and purpose has evolved over millennia into something very special indeed! There are so many interesting things to tell you about the Milkweed Plant.
The “Butterfly flower” is the essence of my childhood! Milkweed plants have played an important role for humans. Here are four things that milkweed plants are historically famous for.
It was just a few years ago when I was in my “perfumer madness phase” that I questioned why….why why why hasn’t anyone tried to capture the amazing aroma of milkweed flowers? After all, they are softer than lilac, headier than stock, sweeter, and wilder than the wild rose itself. These characteristics make a milkweed plant a great choice for scented perfume for customers who like a woody smell, along with a mixture of floral notes.
Well… many of you may wonder if the Milkweed plant (aka. Asclepias) is poison. The short answer is yes according to Poison.org and other sources, however, various people have learned how to harvest and process milkweed flowers into something beautiful.
How to identify the milkweed/ butterfly flower? Here are some characteristics to look for.
First, thank you for growing the butterfly flower! 🌱🐛 If you are interested in receiving seeds, please add a note to your order of any milkweed product and we’ll send them along with your order.
Free Milkweed Seeds are either native or exotic. Use this tool to find your native milkweeds. Our free seeds are asclepias syriaca variety so please plant in a native area.
You will receive one gram of Free Milkweed Seeds or less. Most Free Milkweed Seeds are packets of one gram. Well over one hundred seeds is typical. On some occasions, I may send out Free Milkweed Seeds that are hard-to-find monarch host plants or packed in a 20/25 seed packet. Those packets have less than a gram of seeds.
Yes! Whether you purchase milkweed, grow your own milkweed or get Free Milkweed Seeds from this website, milkweed definitely positively contributes to monarch butterflies. Please note: Free Milkweed Seeds are intended to be grown in your garden. Do not use Free Milkweed Seeds to re-wild public land. Locally native species can be found on the Milkweed Map.
Many species need to be vernalized (cold treated) before planting. Vernalized seeds can be planted in the spring after the danger of frost has passed. Non-vernalized seeds can be planted in the fall, and nature will provide the cold treatment. See Monarch Watch’s milkweed propagation guide for further recommendations, information on vernalization and instructions for starting milkweed seeds indoors.
Milkweed seed can be planted directly in soil or started indoors. You can:
Let’s look at details in the following steps below.
Milkweed seedlings can be started indoors in a greenhouse or under artificial lighting and then transplanted outdoors after the average date of the last frost. If seeds are started indoors, allow 4-8 weeks of growing time before transplanting. Plastic flats can be used to start the seeds.
Fill the flats with a soil mix suitable for seedlings (most potting mixes are), thoroughly soak the soil, and let the excess water drain. Sow the seeds by scattering them on the soil surface 1/4-1/2 inch apart, and then cover with about 1/4 inch of additional soil mix. Gently mist the soil surface with water to dampen the additional soil mix that has been added.
In an effort to improve germination rates, many gardeners place the seeds in packets made from paper towels and soak them in warm water for 24 hours prior to planting. This method seems to work especially well for seeds of species that require stratification.
After the seeds are sown in the flats, cover each flat with a clear plastic cover or a plastic bag to keep the seeds from drying out while germinating. Then, place the flat under grow lights, in a warm sunny window or a greenhouse. Most seeds will germinate in 7-10 days if the flats are maintained at 75˚F. After the seeds have germinated, remove the plastic covering from the flats.
Once the seedlings have emerged, the soil should be kept moist by watering the flat from the bottom. You can water from the bottom by placing the flat in a sink or a larger flat filled with 2 inches of water until moisture appears on the soil surface. The soil should be kept moist, but some care is needed to keep the seedlings from getting too wet – such conditions contribute to fungal growth that can kill the young seedlings (“damping off”). Thinning (see below) can reduce damping off.
The plants are ready to be transplanted when they are about 3-6 inches in height. Before transplanting, acclimate the plants to outdoor conditions for a few days by placing them in a sheltered location during the day and then bringing them indoors at night. The seedlings should be planted 6-24 inches apart depending on the species (check the back of your seed packets for information).
Newly transplanted plants should be watered frequently. Add mulch around the seedlings soon after planting. The mulch holds in moisture and minimizes the growth of competing weeds. The seedlings should be fertilized 2-3 times during the growing season if using water-soluble fertilizer or once a season if you utilize a granulated time-release formulation.
Milkweed seeds can be sown outdoors after the danger of frost has passed. Refer to the seed packets for special instructions on sowing the seeds. Keep in mind that seeds have a range of soil temperatures at which they will germinate. Also, remember that under sunny conditions the soil temperatures can be much higher in the daytime than the ambient air temperatures you experience.
Plant the seeds early since those planted late in the season may not germinate because of high temperatures. In addition, new seedlings from late plantings can “dry off” before they are noticed. Asclepias incarnata (swamp milkweed) and A. syriaca (common milkweed) germinate poorly at high temperatures (>85˚F). However, other species such as A. curassavica (tropical milkweed) and Cynanchum laeve (blue vine) germinate well at these temperatures. Germination outdoors depends on soil moisture and temperature and could take several weeks if conditions are not ideal.
The timing of the collection of milkweed pods or seeds is critical. Mature pods are those that are within a day or two of opening. If you squeeze the pods and they don’t open easily, they usually do not contain mature brown seeds. Seeds well into the process of browning and hardening will germinate when planted the next season. Pale or white seeds should not be collected. Freshly collected pods should be dried in an open area with good air circulation.
Once the pods are thoroughly dry, the seeds can be separated from the coma, or silk-like ballooning material, by hand. Separation of seeds can also be accomplished by stripping the seeds and coma from the pods into a paper bag. Shake the contents of the bag vigorously to separate the seeds from the coma and then cut a small hole in a corner of the bottom of the bag and shake out the seeds. Store dried seeds in a cool, dry place protected from mice and insects – a plastic bag or another container in the refrigerator works well.
This concludes our milkweed flower and plant informational blog! Thanks for joining us. Stay tuned for our upcoming blog post.

Ah, fall! A season of change, crisp air, and brilliant foliage. It’s that magical time when nature puts on a fiery show, and we all start to crave those warm, comforting moments indoors.

Table of Contents Soap is a substance with differing forms,

Table of Contents Adirondack Style Mini Pack Baskets: The Perfect
Table of Contents Memories of Childhood As child, one

How to smell the Fall and maple trees? Find out choices for “October Glory” before transiting to the scents of the upcoming holiday season here!

Do you know that we can make a soy wax candle out of soybeans? Click to learn about types of candle waxes and the soy-based wax benefits.
As a valued member of our community, we wanted to
Table of Contents Community supported fragrance (CSF) is a unique
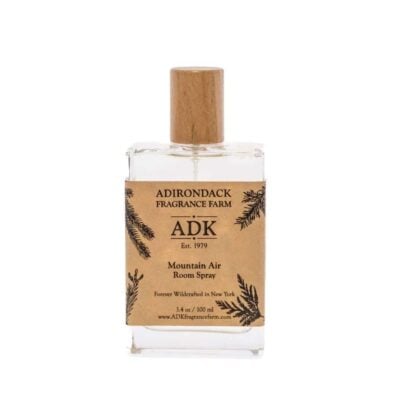
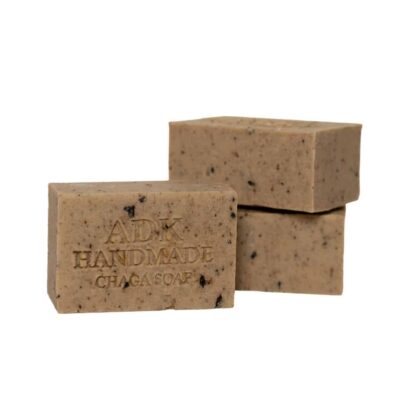
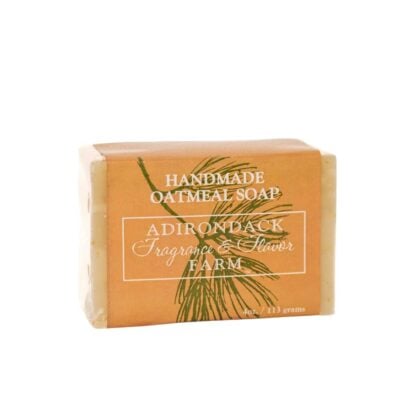
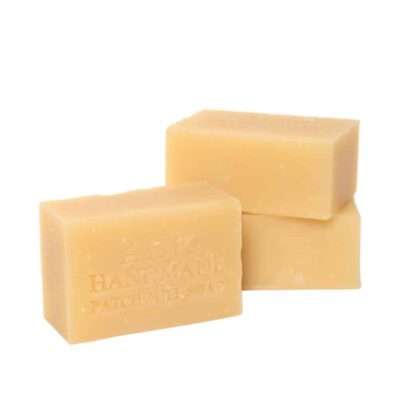
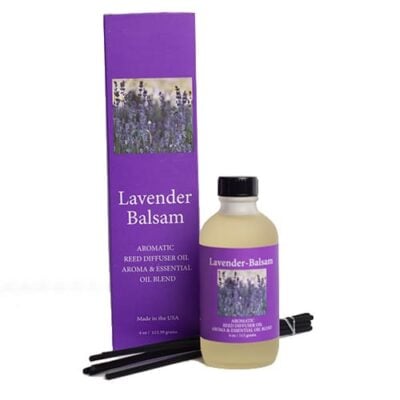
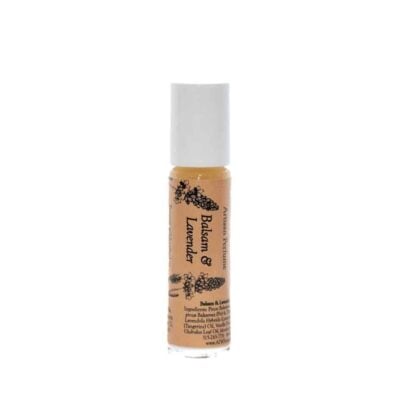

We are your gateway to the serene Adirondack Forest, offering natural fragrances, candles and body care.
OFFICE: Monday – Friday:
8:00 am – 4:00 pm
GIFT SHOP:
Mon-Fri 8am – 4pm
Sat 10am – 4pm
Please Note: In-person orders can be placed by phone and picked up at the loading dock same day!